Ensuring your emergency safety showers and eyewash stations are in perfect working order is not just a matter of compliance; it's a critical component of workplace safety. Seconds count in an emergency, and a malfunctioning unit can be the difference between a minor incident and a life-altering injury. This guide provides a comprehensive checklist for robust safety shower maintenance and emergency shower testing.
Table of Contents
- 1. Introduction: The Critical Role of Emergency Fixtures
- 2. Understanding Your Equipment
- 3. Pre-Maintenance Preparations
- 4. The Comprehensive Maintenance Checklist
- 5. The Importance of Diligent Record Keeping
- 6. Common Problems and Troubleshooting
- 7. Enhancing Your Emergency Fixture Program
- 8. Conclusion: A Proactive Approach to Safety
1. Introduction: The Critical Role of Emergency Fixtures
Emergency safety showers and eyewash stations are essential first-aid devices designed to drench or flush hazardous materials from a person's body or eyes. In environments where workers are exposed to corrosive, irritant, or toxic substances, these fixtures provide immediate decontamination, significantly reducing the severity of injuries. Effective safety shower maintenance and regular eyewash station inspection are paramount to ensure they function as intended during an emergency.
Various international and regional standards, such as ANSI/ISEA Z358.1 (American National Standard for Emergency Eyewash and Shower Equipment) and EN 15154 (European Standard for Emergency Safety Showers), provide detailed guidance on the design, performance, installation, use, and maintenance of this equipment. Adherence to these standards, alongside local regulatory requirements, is crucial for workplace safety compliance and, more importantly, for protecting your workforce.
This checklist is designed to offer a practical, actionable framework for maintaining these life-saving devices, ensuring their readiness and longevity. The information provided is current as of May 2025, but always consult the latest versions of applicable standards and local regulations.
2. Understanding Your Equipment
Before implementing a maintenance schedule, it's vital to understand the types of emergency fixtures present in your facility and their specific components.
Types of Safety Showers:
- Plumbed Showers: Permanently connected to a continuous water supply.
- Self-Contained Showers: Contain their own flushing fluid, often in a tank. These require regular fluid checks and replacement.
- Combination Units: Feature both a safety shower and an eyewash station in one integrated unit.
Types of Eyewash Stations:
- Plumbed Eyewash Stations: Connected to a continuous water supply, with nozzles designed to flush both eyes simultaneously.
- Portable Eyewash Stations: Self-contained units that can be moved to various locations. They contain a finite amount of flushing fluid.
- Faucet-Mounted Eyewash Units: Attach to existing faucets, converting them into an emergency eyewash station. These are generally considered supplemental and may not meet primary eyewash requirements depending on regulations.
Key Components:
Familiarize yourself with components such as showerheads, eyewash nozzles, dust covers, activation valves (pull rods, push plates, foot pedals), piping, tempering valves (for tepid water), and alarm systems if installed.

3. Pre-Maintenance Preparations
Proper preparation ensures that maintenance tasks are performed safely and efficiently.
- Gather Tools and PPE: Assemble necessary tools such as a flow meter, thermometer, stopwatch, cleaning supplies (brushes, mild detergent), buckets or a test cart for water collection, pipe wrenches, and spare parts (e.g., nozzle heads, O-rings). Appropriate Personal Protective Equipment (PPE) like safety glasses, gloves, and waterproof footwear should be worn.
- Notify Personnel: Inform area supervisors and employees about the scheduled maintenance to prevent accidental use and to manage any temporary unavailability of the equipment. Clear communication is key.
- Secure the Area: If necessary, use barricades or warning signs to restrict access to the area during testing, especially if water spillage is anticipated.
- Lockout/Tagout (LOTO): For extensive repairs, such as replacing main valves or working on electrical components of alarm systems, implementing Lockout/Tagout procedures is essential. This prevents the accidental energizing or startup of equipment.
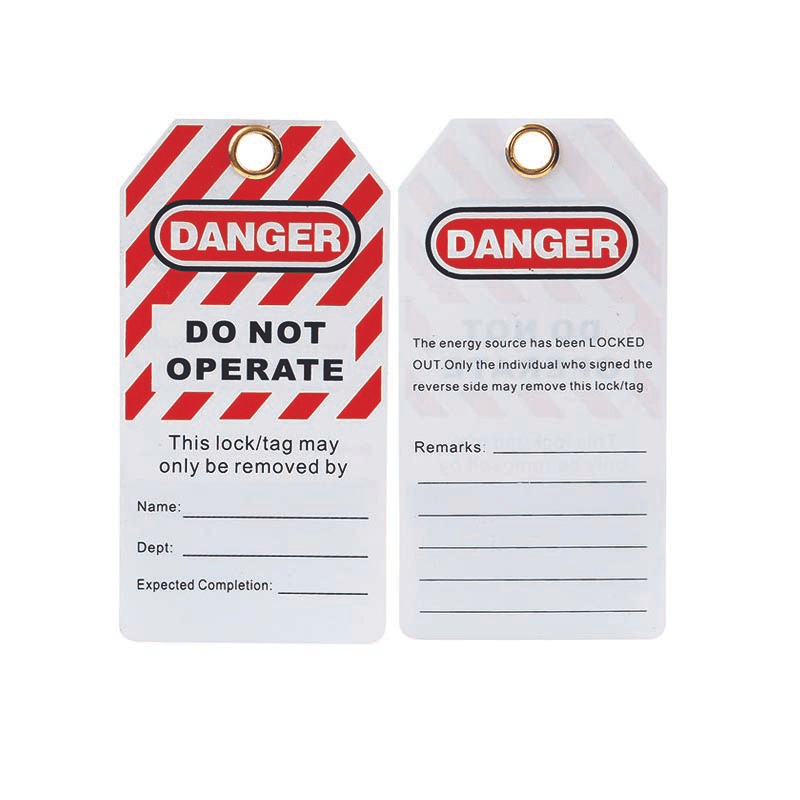
Site Safety Focus: Ensure that any safety shower or eyewash station taken out of service for maintenance is clearly marked. The Lock Box offers a range of Lockout Tagout Tags suitable for indicating equipment status. For more complex maintenance requiring isolation, explore our Lockout Kits and Padlocks to ensure worker safety.
4. The Comprehensive Maintenance Checklist
A systematic approach to emergency shower testing and eyewash station inspection is vital. This checklist is broken down into weekly, monthly, and annual tasks.
4.1. Weekly Checks: Visual Inspections & Quick Activations
Weekly checks are primarily visual and involve a quick activation to ensure the unit is operational and to flush out any sediment in the lines. These checks can typically be performed by trained site personnel.
| Item | Check Performed | Expected Outcome / Action |
|---|---|---|
| Accessibility | Verify clear, unobstructed pathways to the unit. Ensure no storage or equipment blocks access. | Path must be at least 91.4 cm (36 inches) wide. Remove any obstructions immediately. |
| Signage | Confirm emergency signs are highly visible, clean, and legible from a distance. | Sign should be well-lit and clearly indicate the location of the safety fixture. Replace damaged or missing Safety Signage from The Lock Box. |
| Protection from Freezing | If in an area prone to freezing, check that freeze protection measures (heat tracing, insulated enclosures) are active and functioning. | Ensure no signs of freezing or damage to protective measures. Repair as needed. |
| Shower Head / Eyewash Nozzles | Visually inspect for cleanliness, damage, or obstructions. Ensure nozzle dust covers are in place and operate correctly (pop off when water flows). | Clean or replace nozzles if dirty, clogged, or damaged. Ensure dust covers are intact and functional. |
| Water Collection / Drainage | Check the area around and under the unit for proper drainage. No standing water should be present after testing. | Clear drains if blocked. Address any issues causing poor drainage. |
| Quick Activation Test (Shower) | Activate the shower. Observe if water flows within 1 second and the valve stays open without needing to be held. | Flow must start promptly. Valve must remain open. If not, investigate valve mechanism. |
| Quick Activation Test (Eyewash) | Activate the eyewash. Observe if water flows to both nozzles within 1 second, providing a controlled, low-velocity stream to both eyes simultaneously. Valve stays open. | Flow must start promptly to both eyes. Valve must remain open. Adjust or clean nozzles if flow is uneven or insufficient. |
| Water Clarity & Duration | Run the unit for approximately 15-30 seconds (or as per internal procedure) to flush lines. Observe water clarity. | Water should run clear. If discolored, run longer until clear. If persistently discolored, investigate water supply. |
4.2. Monthly Checks: Enhanced Inspections
Monthly checks build upon the weekly inspections, involving more thorough checks of mechanical components. These may require more specialized knowledge.
| Item | Check Performed | Expected Outcome / Action |
|---|---|---|
| All Weekly Checks | Perform all items listed in the weekly checklist. | Ensure all weekly criteria are met. |
| Valve Operation | Manually operate the activation valve (pull rod, push plate) to ensure it moves smoothly and is easy to activate. Check for corrosion or damage. | Activation should be quick and require minimal effort. Lubricate or replace parts if stiff or corroded. |
| Piping and Connections | Inspect all visible piping, joints, and connections for leaks, cracks, or signs of corrosion. | No leaks should be present. Repair or replace damaged sections immediately. |
| Self-Contained Units (Fluid Level & Expiry) | For self-contained showers and portable eyewash stations, check the level of the flushing fluid. Verify the expiry date of the flushing fluid and any preservative additives. | Fluid must be at the required level. Replace expired fluid or additives according to manufacturer instructions. Follow disposal guidelines for used fluid. |
4.3. Annual Full Functional Test & Comprehensive Maintenance
The annual test is the most comprehensive and is critical for confirming compliance with standards like ANSI Z358.1 or EN 15154. This test should be performed by qualified personnel.
[Image: Personnel performing an annual flow rate test on a safety shower using a test sock/funnel and a calibrated bucket or flow meter. They should be wearing appropriate PPE.]
| Item | Check Performed | Expected Outcome / Action (Examples based on ANSI Z358.1) |
|---|---|---|
| All Weekly & Monthly Checks | Perform all items listed in the weekly and monthly checklists. | Ensure all criteria are met. |
| Full 15-Minute Flow Test (Shower) | Activate the shower and let it run for a full 15 minutes. Measure the flow rate. | Shower must deliver a minimum of 75.7 liters per minute (20 gallons per minute) throughout the 15-minute test. Valve must stay open. |
| Full 15-Minute Flow Test (Eyewash/Eye/Face Wash) | Activate the eyewash/eye/face wash and let it run for a full 15 minutes. Measure the flow rate. | Eyewash: Minimum 1.5 liters per minute (0.4 GPM). Eye/Face Wash: Minimum 11.4 liters per minute (3.0 GPM). Flow must be simultaneous to both eyes, low velocity. Valve must stay open. |
| Water Temperature | During the 15-minute flow test, measure the water temperature. | Water must be tepid, defined as between 16°C and 38°C (60°F and 100°F). If outside this range, a tempering valve may be needed or existing one requires service. |
| Spray Pattern (Shower) | Observe the shower spray pattern during the flow test. | At 152.4 cm (60 inches) from the floor, the spray pattern diameter should be at least 50.8 cm (20 inches). The center of the spray pattern should be at least 40.6 cm (16 inches) from any obstruction. Water delivery should be substantially dispersed. |
| Spray Pattern (Eyewash) | Observe the eyewash spray pattern during the flow test. | Streams should be 83.8 cm to 134.6 cm (33 to 53 inches) from the floor, and at least 15.3 cm (6 inches) from walls or obstructions. Streams should rise to approximately equal heights and cover areas between the inside and outside lines of a gauge at some point less than 20.3 cm (8 inches) above the eyewash nozzle. |
| Valve Overhaul/Replacement | Inspect internal components of activation valves for wear, damage, or mineral buildup. | Service or replace valve components as per manufacturer recommendations or if performance is degraded. |
| Piping Integrity | Thoroughly inspect all accessible piping for integrity, including supports and hangers. | Ensure structural soundness. Address corrosion or damage. |
| Nozzle Replacement | If nozzles cannot be adequately cleaned or are damaged. | Replace with manufacturer-approved parts to maintain correct flow patterns. |
| Alarms/Signal Systems | If equipped, test functionality of flow alarms, visual signals, or remote monitoring systems. | Alarms must activate correctly when the fixture is operated. Test connections to central monitoring if applicable. |
| Tagging & Documentation | Attach a durable, waterproof inspection tag to the unit indicating the date of the annual test, the inspector's initials/name, and the next due date. Update maintenance logs. | Tag must be clearly visible and securely attached. Use robust Lockout Tagout Tags for durability. |
| Training Verification | Confirm that employees in the vicinity are trained on the location and proper use of the emergency fixtures. | Conduct refresher training if necessary. Ensure new employees are trained. |
5. The Importance of Diligent Record Keeping
Maintaining accurate and detailed records of all safety shower maintenance activities is essential. These logs serve several purposes:
- Proof of Compliance: Records demonstrate adherence to regulatory requirements and industry standards during audits or inspections.
- Tracking Performance: Helps identify recurring issues or trends that may indicate a need for equipment upgrades or changes in maintenance procedures.
- Maintenance Scheduling: Provides a clear history for scheduling future maintenance and component replacements.
- Liability Protection: In the event of an incident, well-maintained records can be crucial.
What to Include in Maintenance Logs:
- Date of inspection/test.
- Name and signature/initials of the inspector.
- Location/ID of the unit inspected.
- Specific checks performed (e.g., "Weekly Activation," "Annual Flow Test").
- Results of each check (e.g., flow rate, water temperature, pass/fail).
- Any deficiencies found.
- Corrective actions taken, including dates and parts replaced.
- Date for next scheduled inspection/test.
Records can be kept in a physical logbook located near the equipment or in a centralized digital system. Digital records often offer easier tracking, reporting, and reminders.
6. Common Problems and Troubleshooting
Regular inspections will help identify potential problems before they become critical. Some common issues include:
-
Low Water Pressure/Flow:
- Cause: Clogged pipes or nozzles, partially closed supply valve, issues with the main water supply, incorrect pipe sizing.
- Solution: Flush lines, clean or replace nozzles, check all valves in the supply line are fully open, consult with plumbing professionals if supply issues persist.
-
Incorrect Water Temperature (Too Hot/Too Cold):
- Cause: Malfunctioning or improperly set tempering valve, extreme ambient temperatures affecting supply lines.
- Solution: Inspect, adjust, repair, or replace the tempering valve. Insulate supply lines if necessary.
-
Clogged Nozzles or Showerhead:
- Cause: Sediment, rust, or debris in the water lines.
- Solution: Regularly flush units. Remove and clean nozzles/showerhead according to manufacturer instructions. Install filters on the supply line if sediment is a persistent issue.
-
Leaks (Valves, Pipes, Connections):
- Cause: Worn seals or gaskets, corroded pipes, loose connections.
- Solution: Tighten connections, replace worn seals/gaskets, or replace damaged pipe sections.
-
Activation Issues (Valve hard to operate, doesn't stay open):
- Cause: Corrosion, mineral buildup in the valve, damaged activation mechanism.
- Solution: Lubricate moving parts (use appropriate lubricant), clean or descale valve components, or replace the valve/activation arm if damaged.
-
Contaminated Flushing Fluid (Self-Contained Units):
- Cause: Expired fluid, lack of or expired preservative, bacterial growth.
- Solution: Drain, flush, and refill the unit with fresh, appropriate flushing fluid and preservative according to manufacturer guidelines and expiry dates.
7. Enhancing Your Emergency Fixture Program
Beyond routine maintenance, consider these elements to further strengthen your emergency preparedness:
- Employee Training: All employees who might be exposed to hazardous materials must be thoroughly trained on the location, proper use, and importance of safety showers and eyewash stations. Training should be refreshed periodically.
- High Visibility and Accessibility: Ensure units are in well-lit areas, clearly marked with universally recognizable Safety Signage, and pathways are always kept clear. Consider floor markings to denote the access area.
- Integration with Site Safety Plan: Incorporate safety shower and eyewash station protocols into your overall site emergency response plan. This includes procedures for assisting affected individuals and seeking medical attention.
- Freeze Protection: In environments where temperatures can drop below freezing, reliable freeze protection for piping and equipment is non-negotiable. Options include heat tracing, insulated enclosures, or specially designed freeze-proof units.
- Alarm Systems: Consider installing audible or visual alarms that activate when a shower or eyewash is used. These can alert first response teams or supervisors that an incident has occurred, enabling faster assistance.
- Review of Hazard Assessments: Periodically review workplace hazard assessments. If new chemicals are introduced or processes change, verify that the existing emergency fixtures are still appropriate for the potential hazards.
8. Conclusion: A Proactive Approach to Safety
Consistent and thorough safety shower maintenance, including regular emergency shower testing and eyewash station inspection, is a fundamental responsibility for any facility handling hazardous materials. By implementing a comprehensive checklist and fostering a culture of safety, you ensure these critical devices are ready to perform when seconds matter most, protecting your employees and meeting your duty of care.
While The Lock Box specializes in Lockout Tagout solutions and site safety equipment designed to prevent accidents, we also champion all aspects of workplace safety. Ensuring your emergency fixtures are in optimal condition is a key part of this comprehensive safety approach. For high-quality safety signage to clearly mark your emergency stations, or durable tags for your inspection records, explore our offerings at www.thelockbox.ch.